 Warning...very long post with lots of pictures .
 These are some of the supplies I used for my dying this week . This was my first attempt at dying and I used some really nice fiber with 21 micron and some much coarser Mill ends , some feels like Colonial and the dark red and green feels like Romney . I wanted to see if there was any difference in the up take of color and possible felting .
Above, I am soaking the roving in a room temp bath with 1/4c of lemon juice and 2 packages of suger free crystal light...(.this was because I ran out of vinegar and thought this would smell better and add the needed acid to activate the dye . I did use about 1/2 cup of vinegar on most of my dyed roving this week .)
 After 1 hour, I put the roving into a strainer and pressed out most of the water . Every time I touched the fiber I was afraid I was going to cause it to felt but it turned out fine .
 One of the reasons I decided to dye my own fiber was to save money and the other is because I feel that many dyers dye with for the needs of spinners and not felters . I don't need fiber that is dyed to be spun and knit in certain "patterns" . I prefer fiber that has many different shades of blend-able colors . I like deep, rich colors with an organic feel to them...something that you might find on a forest floor , meadow or bog .
I randomly lay my roving in layers....dying one layer at a time and stacking them . I couldn't find any Squirt bottles at Michale's or the dollar store so I did a bit of pouring some spots, spooning and some squirting with my felting bulb . For this roving, I used a mix of blues and greens . I don't like white spots, so I do a bit of light squishing before adding the second layer and use about 4 layers then tightly cover with plastic wrap .
I microwave about 3 min and then let it rest 10 min, do this about 5 times . I know when people steam they say that it needs to be at a particular temp for at least 45 min so I am trying to do this in microwave .
 These are three different rovings and some big nubs/slubs (turquoise bits) in the plastic bag that I dyed the day before .
After the microwave, I put fiber in warm water with synthrapol and let sit a bit then change water until it's clear . I then place fiber in a "delicate" bag and spin in washing machine then hang on line to dry .
 The dye I used on all of this was Acid dye that I followed direction I found on line but it was very dark and had to be diluted several times ....I used some acid to dilute it because I read some where that that was better then water but I don't really know if it makes a difference .
I had considered using Wilsons frosting dye and may still try it but read some professional dyers reports that this "eco friendly" food dye is not made to be light and wash safe . After all the time it takes to turn roving into material.....I do not want something that is goiing to fade in the light . I would love to hear anyone elses opinion of this and if you think the natural dyes are safer even though they often use heavy metal as a mordant ? I am still not sure which alternative is the best but would love to hear form others . What roving would you feel safest using on your projects.........Professional dyes, dyes using heavy metal as mordant or food dyes that "may" fade with time ?
 Here is the lay out of some fabric using my own dyed roving . This was the first time using the nubs and some stuck but I lost about half of them that didn't felt in well .
 I was thrilled at how fluffy the fiber turned out once dry . I was afraid I would have to run it through a carder first the segments pulled apart great and it was super fluffy .
 This was the nuno felt I worked on at the other end of my bubble wrap . I try and fill up all the bubble wrap . As long as I'm going to be rolling , I might as well fill the wrap even if it means doing two scarfs or bags at a time . This was some asymmetrical repurposed material . I'm not sure what it is but the burn test indicates that it is plant fiber and not synthetic . I wet it and layed it on the bubble wrap then layered two thin layers of pulled roving in opposite direction.
 I added just a bit of some orange and yellow roving I bought on Etsy but this is mostly my dyed roving .
 This is the roving once wetted with warm water and small amount of shampoo and lightly pressed out the air before rolling to felt .
 After rolling about an hour...(.following traditional wet felting directions) I was ready to do a bit of slamming against the table . I then rinse out the shampoo (I don't like using olive oil soap because of the smell and I found no problem using shampoo at least for softest, low micron fibers but it may not work for the thicker fibers that are harder to felt .)I then place the completely felted material in dryer for about 15 min to completely full . I then rinse it in vinegar or lemon bath to reacidify and then put in washer on spin cycle and hang to finish drying .
 TaDaa .....The blue area with the "flower dots" is the printed fabric base and whatever it is is well felted .
 This is the other side and the second piece of felted material that is just felted merino and no fabric backing . About 1-2 the wool nubs fell off and I pulled off because they were only lightly felted .
 These smaller felted material is more of my dyed roving and a mix of Mill Ends colonial and merino . I had read some one suggestion that if you are making felt that only one side is exposed you can just use white as the base and save your dyed roving for the top . However, the result is that the white roving migrates through and mutes the dyed roving . This colonial was particularly hairy....almost as bad as using alpaca for wet felting . Perhaps this would have worked OK with merino but I'm going to stick to using color all the way through from now on .
 It does have an interesting texture but I hate the muting of the bright colors I started with .
 Here is the back...not really a white but more a blend of Ecru and tan .
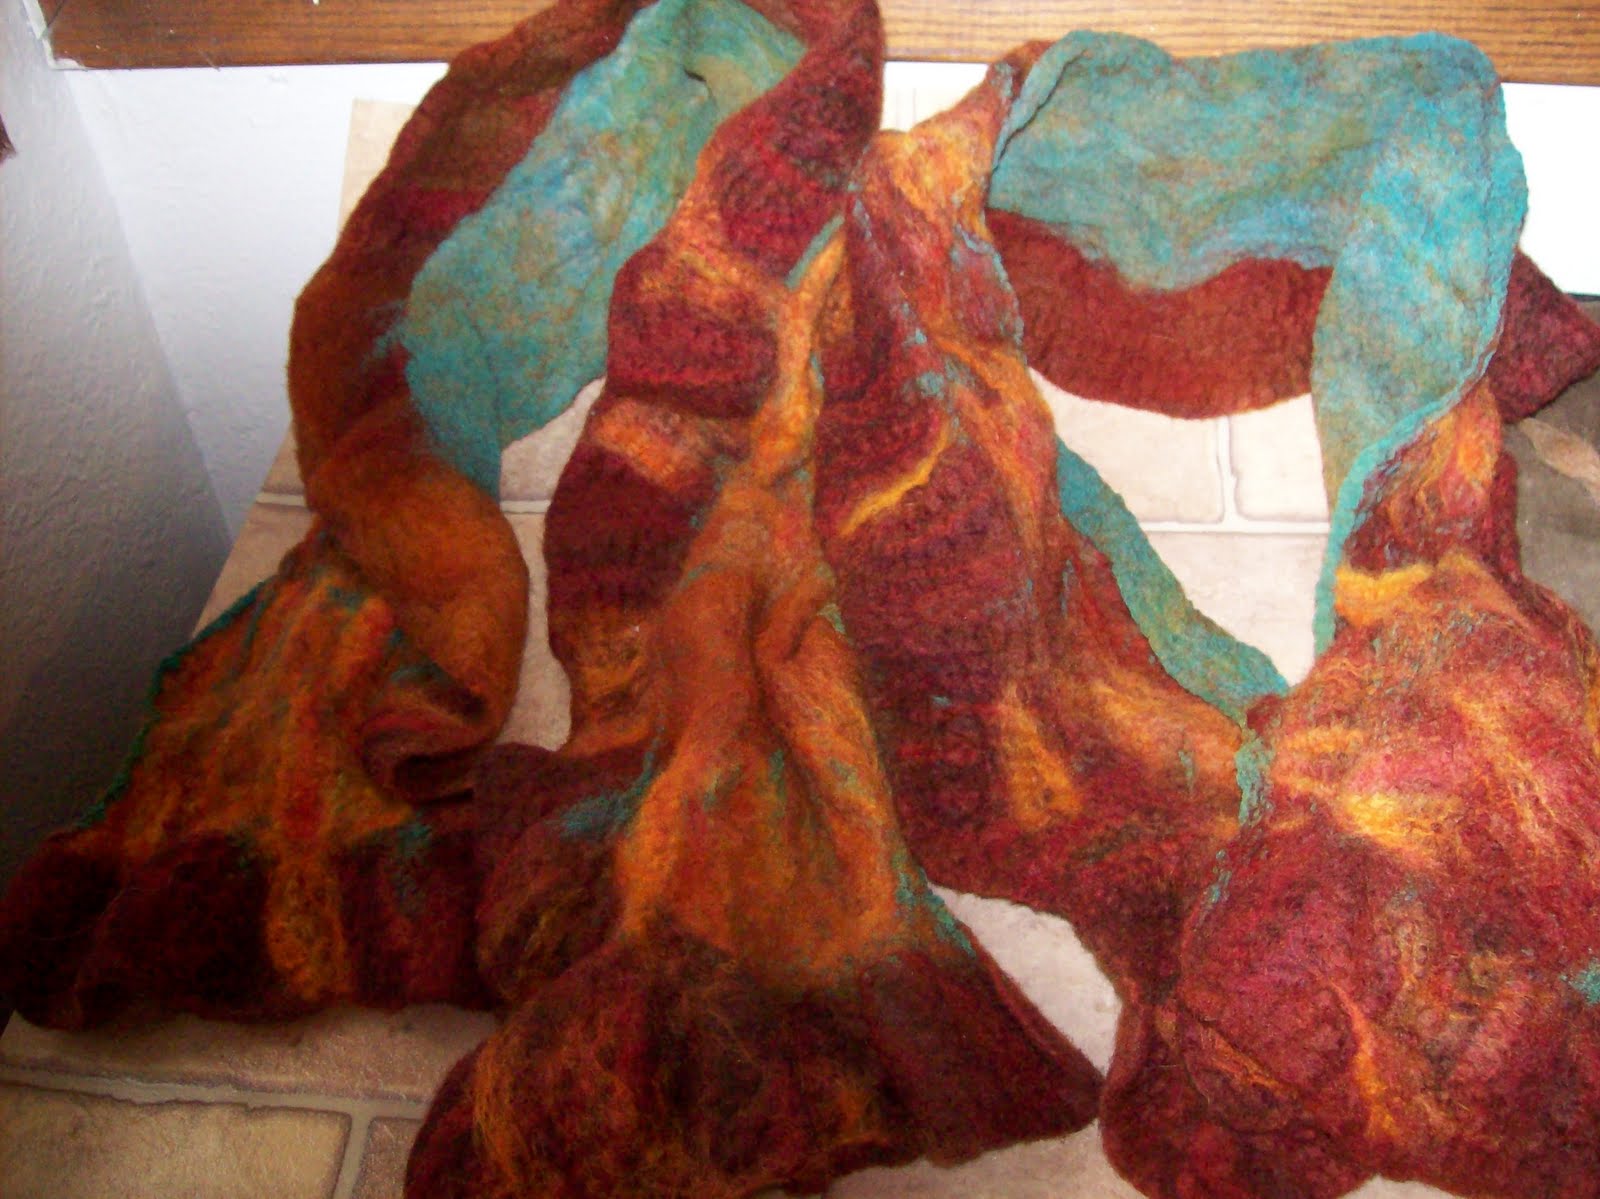 Here are two smaller nuno felt scarves. I used some of my first hand dyed blue silk and dyed roving from earlier this week . It does feel kind of good to have made something that is "all mine" from dying to felting .
 Below is the larger felt cape . I used a base from a batt I bought on Etsy the was a blend of merino. alpaca and silk . It was gorgeous when I spread it out on the bubble wrap and then I ruined it buy adding dark "splotches" of deep purple and green which ended up looking like some one wiped up an oil stain from the garage floor ....oooooops . Don't you hate ruining beautiful fiber ? I guess that is part of the learning process but it sure hurts .
In an attempt to try and rescue the fiber, I needle felt some merino flowers into the edges of the cape and am considering covering all the purple and green with needle felting . It takes forever, it's a big cape but I will the re-wetfelt the whole thing to blend it better .

 Well. this has been a busy week of learning with some "fails" but mostly successes, so I am pleased I over came my dyeing phobia and hope to do more in the future .
The fails probably teach you more than the successes - and I think they lead to more interesting and fabulous results down the line, since they are usually the product of some of your more creative brainstorms. And I think your 'save' came out okay, so even the 'failure' isn't a total loss. I know what you mean about having beautiful (and expensive) fiber end up not-quite-the-way-you-planned, though - very frustrating!!
ReplyDeleteThank you for the interesting tutorial, I really needed a refresher course!!
I just ordered a bunch more dye from dharma and reread their tutorials but not alot there for roving dyers...more for fabric folks .
ReplyDeleteWhatever I did seemed to work OK but I still need some tweeking and I read that there are many natural dyes that use safe mordants, so will have to learn more about that as well .