As if my needle felted trophy heads weren't "creepy/offensive" enough, I hope I don't alienate even more animals lovers with this post . Above and below are my latest experiment in creating new animal friends . The controversial bit is that they have bits of recycled fur coats as accents . Now, I know that "my crowd" <----liberals, are pretty much of the mind that fur belongs on the original beast that grew it and I agree ! My favorite fur is attached to a living, breathing, bouncing, running critters . I would never take theirs or pay someone who did but...the reality is that this still leaves a big bunch of old fur hats, coats that are bound for land fills . I know, dust to dust and all that but putting something that beautiful into a pile of rotting food and old diapers just seems shameful to me . So, for the past 20 years, when I could afford to, I have rescued a few such items from thrift stores and stored them in my closet . I have about 10 of them and no idea what to do with them until .....

I was googeling a good home-made craft glue and happened on a video by a taxidermist . I watched the video on utube where he making the glue and using it to apply the pelt to the animal mold and I thought, wonder if that would work using s wool animal "mold" . Spoiler alert....it does . I tried several different methods from sewing to gluing and found them both very effective . If the skin is thick it works fine to sew it but many of the old coats have thin skin that rips easily when sewn and I think the glue works better . I use a nontoxic book binding glue and the trick seems to be to tack the edges down with pins as close together as possible as well as making sure that you have felted the sculpture very solid . I don't know how much of this I will do but it does seem a good way to recycle the fur .
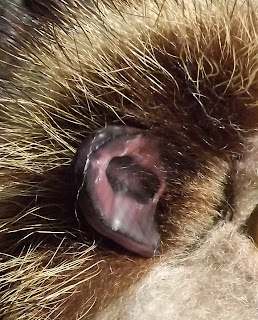
The above ear was also an experiment to make more realistic ears . I used two layers of recycled leather with wire in between and some glue mixed with tiny bit of red dye . I wont go into details now as I plan on doing a brief demo soon .
Here you can see where the fur meets that needle felted base . If you do have any edges that don't get glued down well it's pretty easy to redo them with a bit more glue and some pins(I think the best pins are the kind with little "pearls" on the ends which you can find in most craft stores .
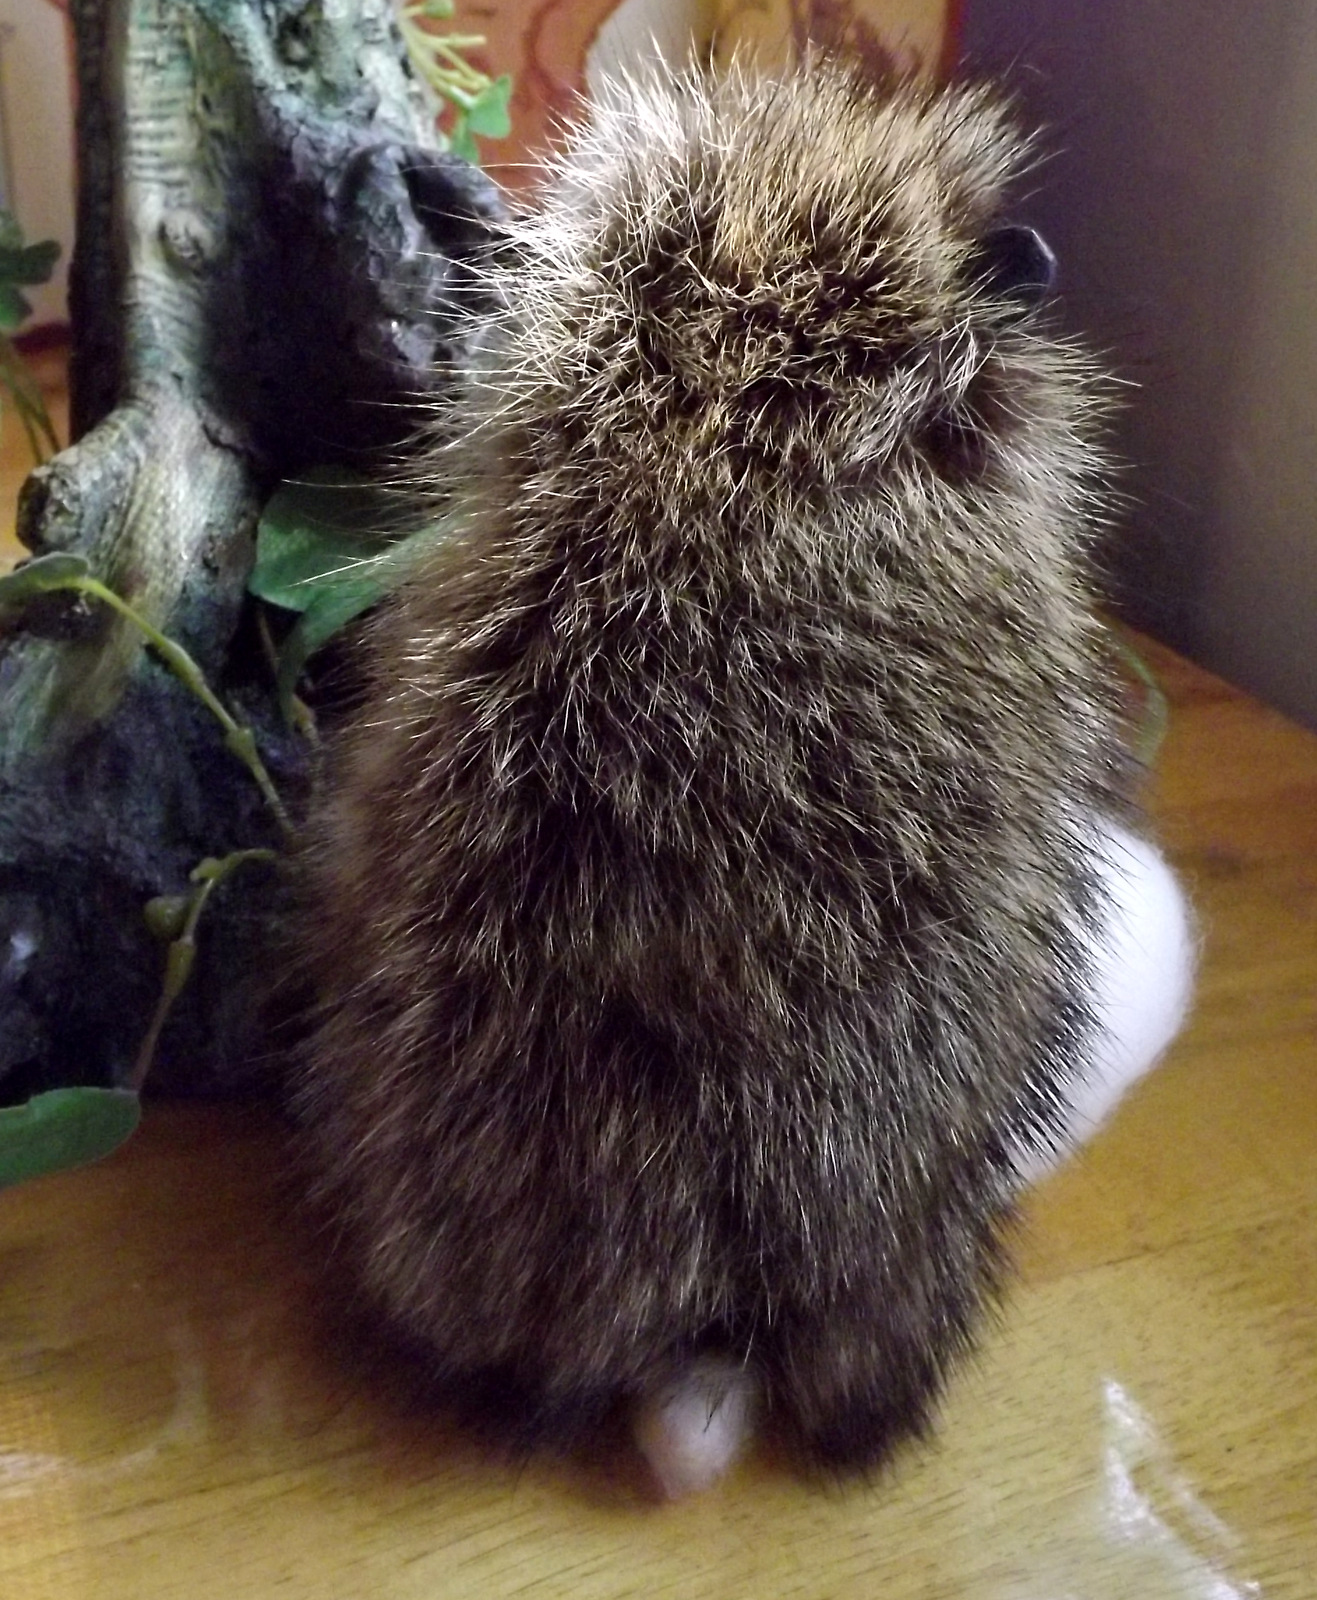
One of my larger franken critters . Right now I am not doing any fancy patterning, just cutting out a rough shape for the back and head and leaving the face and arms needle felted .
Below is a WIP that I am waiting for time to do an ear demo with pictures . He looks pretty weird with out ears . This one I sewed the back fur on but glued the "mohawk" on top of his head .
He also needs a rework on his eyes . I finally found a good method for eye lashes but not before several failed attempts that ruined his eyes .
Below is Max, my camera bombing cat who assumes every photo-shoot must mean I want him to pose .
I also got my "creepy" trophy heads on the wall so I could free up some table space . I think they turned out pretty good and hanging them gives me an idea of what head/neck position works best for these .
That was it for the past month, little created but many experiments tried and a few new skills to keep tweeking .This is my favorite time of the year to be out-side so I'm not sure how much felting will be getting done. I need to store up a nature fix before the snow falls and in MN that may not be to far off .
Happy felting and experimenting !