Wednesday, February 27, 2013

mohair and alpaca reversed felted animals

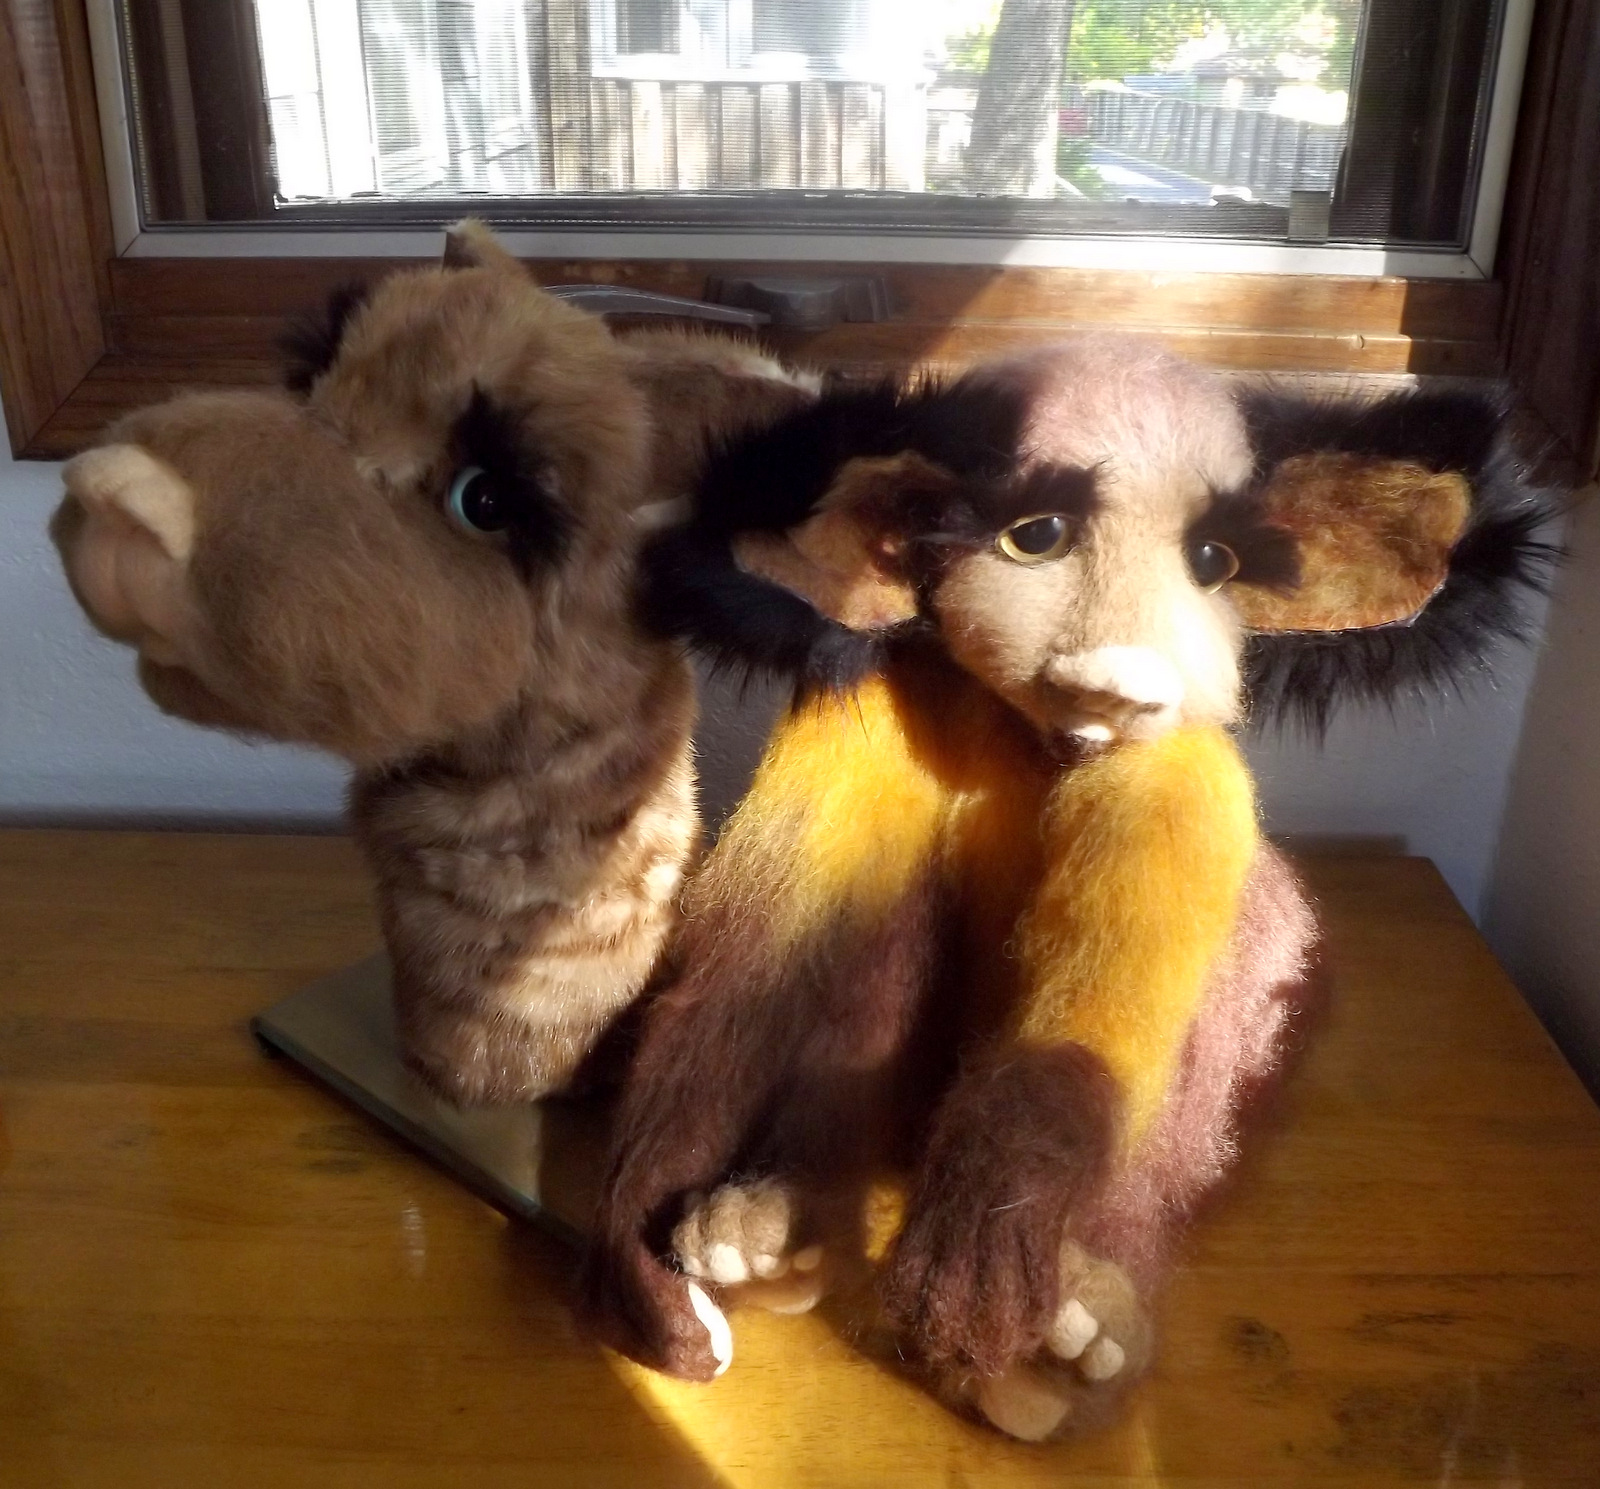
 Above and below are my latest creations . I actually bought some pink eyelashes for the big guy . They are both wearing some of my latest "bling" .
 Both are made using alpaca and mohair and reverse felted . I actually bought some nice brown mohair which I hope to get this week . I really love the way the mohair reverse felts as it is such strong fiber and makes such nice long fur .
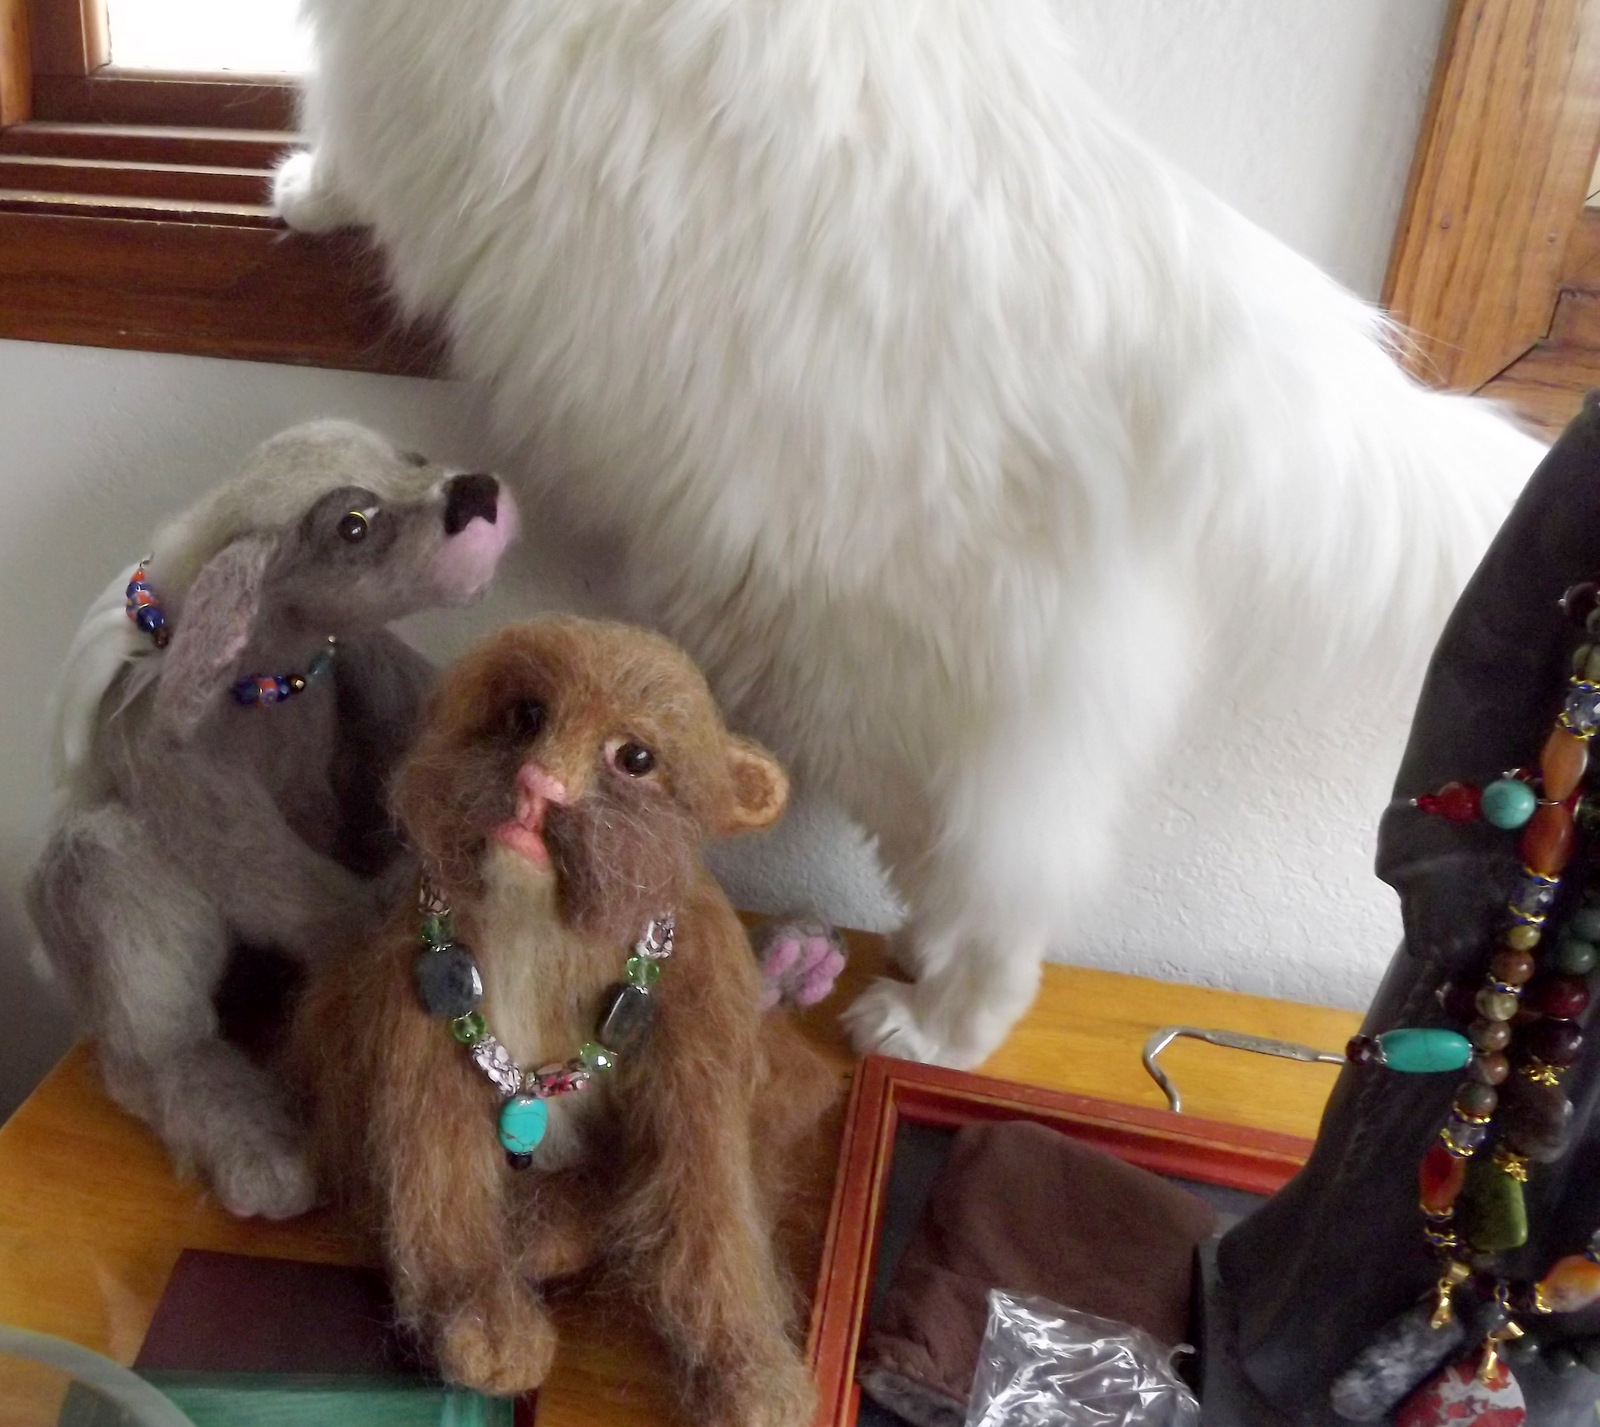
 Of course, Max showed up as soon as the camera came out . We got him at the local shelter and I really wonder if he wasn't a show cat in his previous life . Next to him are two of my older animals that I reverse felted to make them fluffy . I think the grey guy is shetland and the other is a mohair mix .

 Belwo is Max's best friend and much shier brother < balhoo . He rarely stays still so this kind of pose is pretty rare . 

Happy felting .

Monday, January 14, 2013

New Felt critters and a bit of bling from Top Hatter


Above are my latest critters with my new home-made glass eyes...........

They are glass half rounds that I ordered from Alibaba  and painted the back with some nail enamal...I need to find a better paint as this stuff is toxic and gave me a headache . Since the paint is not exposed but facing down it doesn't really need to be this hard-core but I do love the sparkle of the nail polish . I may play around with some water based varnish mixed with dye and glitter to see what I can come up with .


Above are 3 animals I felted last year and just got around to doing reverse felting to make them fuzzy . It doesn't make them look much better in a photo but it's a world of difference to touch and to see close-up . (The large chicken egg is for size reference)


I also bought some name tags for my critters and some stamps to make them name tags but....they are such solid metal the stamps barely make a dent and is super noisy . I will keep working on it but need to remember to wear earplugs next try .

I have taken some time off from felting do to some shoulder/back pain . Needle felting can be harder on your body then it might look, especially the large animals I do . During that break, I decided to make some gifts for my family for Christmas and in spite of my vow to not buy more beads since I hate beading...I stumbled on a new obsession ......TopHatter . It's an on line auction site that is in a virtual reality . I plan on doing an article about them soon but for now...here is a small part of the loot I have scored in the past few months..........


Some of it has already been sent in the form of trinkets to my family but you can see the "extra bits" that I still have for future projects . Most is planned for items to make and sell but the fake fur Lynx coat which is barely visible  on the edge of picture and the computer Tablet which is a cheap little China knock off...are Christmas presents to me from money given from my brother and mother in law . So thanks for the gifts....I love them !!!

Tophatter is very addictive and very dangerous for people who don't have a lot of money but like sparkly things . Stay away from electronics and read descriptions VERY carefully before bidding . I will give a better report later but taataa for now .

Friday, November 23, 2012

fuzzy forest friends...a retrospective


This is how I spent my Thanksgiving....giving thanks for our animal and plant friends who share some of them selves with us so that we can create some new friends .

It looks way cooler if you click to watch it on utube full screen . My bad photography is actually not as bad for some pictures . 

Tuesday, November 13, 2012

DIY tablet holders from table to tummy rests

There is little doubt that I am an aspie , the real question is will I use this super power for good or evil . I'm not sure if the above picture answers that but it certainly does have some pretty colors . My model above is headless, (and armless) so it may be difficult to tell what is going on here but this happens to be my invention to get on Shark Tank . (Totally kidding, they would eat me alive . ) I do think I created something that meets a specific need that I could not find on the open market .A little tweeking and I might look into getting a patten ....but I doubt it .

My goal was to find a way to support a 7" tablet while allowing the wearer to avoid the neck strain of looking down at the screen but still be able to drink coffee AND pet the cat . Mostly I just wanted to avoid the neck strain thing but the cat demanded I add the free hand option . It is still easier to stabilize the base with one hand during manic AngryBird game play then trying to hold it in one hand at eye level....arm gets tired .

I do plan on making a trip to Menards to look for other "parts" options but the goose neck does seem like the best fit for being able to adjust the tablet stand for several uses and different eye levels . Ideally I would like to find a plastic gooseneck  that can go around the neck, wrap under the breasts ,(to create support and replace boring bras) and connect in the middle of the breast bone with the actual tablet holder...oh, and it should only weigh a few ounces . Will see if Mendards can come up with something because googling for 3 days has left me more confused then ever .

Anyway...I decided to "make do", something that I think is an aspie "hoarder" specialty . I ran around the apartment looking for anything I thought might work as well as my usual decorative materials and tools . I never know what I will need when crafting at work so I tend to arive like a pack mule .

 
I also needed something for the base of the goose neck

Above are some of the bases I thought might work for holding the tablet...
an old book cover
thick board from picture frame
dividers from an old DVD shelf unit
A DVD case
an old record(wasn't sure if I could cut this)To the left are the metallic paint and
wood sealer , and old photo album. ( I chose the scrape wood that I covered in leather, paint and sealer for my base)

 Above and below are a few other odds and ends I thought might come in handy for construction and decoration ...below list are just the things I actually chose to use...

Two sided tape
two sided iron on fabric stuff
goose neck (recycled from an old lamp)
iron
leather
velcro
plastic arch shaped object (used to be the light shade for a solar lamp) It actually had a hole that with a bit of widening, fit the gooseneck and added support to stabilize the whole thing...arches provide great stabilization !

 Above are some other things I thought I might need but got very little use .
Below items came in very handy and should be in everyones crafting tool kit .


The insert for the DVD player made a good basci pattern for covering the DVD case that I chose to use as the first tablet holder . I used two glued together shelf dividers for the second holder and both were covered in leather and fabric which were then sealed to make wiping them clean easier .

This isn;t a step by step instructions, just a few tips to get seome one thinking about how to create their own with what they may have around the house or nearest thrift store . This was how I began, covering the wood base with some leather and gold paint with sealer . I  painted the  inside of my inverted plastic bulb cover and added a bit of enamel paint on the out-side . I then threaded the goose neck male part through a small hole in the top(bottom) of the bulb cover and held it in place with a nut . I used the lock tight super glue to attach the wood base to the plastic bulb cover .

I couldn't find any more nuts at my house ......most of my family lives out of state  : ) ....so I tried an old wooden spool and much to my surprise, it fit perfectly ! The wood was soft enough that I could just screw it on but tight enough to hold with the advantage of being able to remove it at any time . I just left the thread on because I liked the color and used some blue permanent marker to paint the wood and coverd it all with several layers of sealer . I then used my indispensable super glue to glue the back of the tablet holder to the top of the spool .

To hold it in place on your chest is an old purse strap with open clips but I plan on making a more comfortable "sling" out of some fleece fabric . The important part is just clips that fit over the goose neck and can be slid up and down for repositioning comfort .

 I was originally intrigued that the 7' tablet fit so perfectly into a DVD case which even has plastic clips inside to hold it . I cut off the top part where the DVD goes and tried to use some two-sided tape and leather and cloth to decorate but....
 it was hard to decorate with the weird little angles and below you can see that my added screen protector cover was....a bit short for it's intended goal . I do think this would work Ok if you sewed a cover for the plastic . Again, you just need to glue the back to the top of the thread spool .

The small black "thing" is the actual case I bought to keep the tablet safe...the tablet "holder" you see sitting inside of it actually has a little fabric "lip" on it to hold the tablet BUT....I am going to add the soft bit of a strip of velcro to the back of the tablet and snaggy side of velcro to the tablet holder/tray .

Anyway, I will probably start felting again if I can actually get this stand and the tablet to my sister this week .....(will I go through angrybird withdrawl ???)

Friday, October 19, 2012

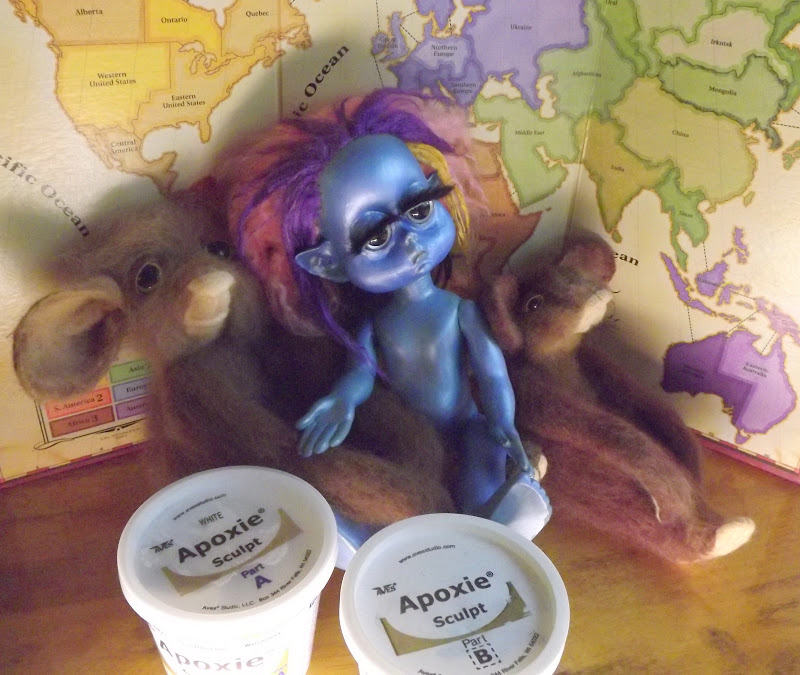
Apoxy Sculpt + Little Miss No Name doll+ needle felting+beading


I spent a good 15 hours removing her old hair and rooting in mohair with front highlights of silk to make my no "Little Miss No Name" doll into an alien . I also replaced the eyes and made lids, cheeks and pointed ears out of Apoxy sculpt . I can tell you now that I am going to have a very fun winter with this stuff . It works great on the plastic and latex doll .  I made a huge mistake rushing the process and not spending more time blending in the edges . (live and learn_ ) She has some lovely fur lashes and is painted with multiple layers of blued wood glue with a sealer ....all in all, I give myself a C for end result but an A for patience in painting and rooting hair since the whole process took most of the week . I have several other less expensive dolls that I plan on being a bit more creative with horns, textured skin and layers of leather and fur .


 The previous week I made her two fuzzy friends
 .....and beaded a few needle felt bangles which I made several years ago (talk about WIP),
I also made small steps toward opening my Etsy shop by joining stamps.com so I can weigh and mail out packages . I still am not satisfied with the tags I have for my animals so I have some supplies coming in a few weeks that I hope they will work .

Hope all of you are still exploring and enjoying making things....when it comes to crafting , the more I learn, the more I want to know so it will great to play around a bit more with the new sculpting medium and I have a cheap little rotary tool winging it's way here, so stay tuned

Friday, October 5, 2012

Needle felt animals with fur and leather "Franken ears"


These are my latest two felties . Both have the natural fur/leather ears that I am going to show how I made in a bit . The "table head" , (verses a wall mount head ),  has a neck that is covered with the coat sleeve of a mink coat . This was very experimental process as I wanted to just attach the bottom and top of the sleeve to allow for a wrinkly neck like a Shar-Pei dog . It was a bit fiddly but I like the end result . Both critters also have the fur eyelashes that remind me of alpaca lashes .

My goal with the ears was to create something more realistic then my felted ears but it has a major drawback . The wood glue makes the ears very stiff and I can imagine this being a huge pain if you plan on shipping . I suppose that means I wont be able to sell them unless I take them to shows where they wont be thrown about like some mail packages . Or I can just keep them : )


That warning said here is the basic process I used .
Above supplies......
wood glue in Tupperware(with just a drop of dye to make pink ) and gel super glue
stiff angled brush
ruler (for making ear pattern)and marker for drawing ear on leather and skin side of fur
repurposed leather for inner ear
repurposed fur for outer ear
strong stiff wire (craft wire works fine but I used copper)and wire cutter
scissors for cutting leather
exacto type knife for cutting non-fur-side ONLY of fur
Dremal or drill (or in my case a vintage electric eraser that I used dremel bits from thrift store)
 ..... The above is for making the end of the wire needle sharp so you can stick it in the needle felted critters head ....(ouch)


first is to design the shape you want for your animals ears,
draw onto suede side of leather and cut out with scissors
I used these as patterns to draw on skin side of fur collar here
(However...if you want an even more realistic ear make the bottom of the leather wider then the fur ear and you can then add those cool little wrinkles we all have in side our ears )

Tricky but important part is cutting out the fur part from skin side without cutting fur...I think an exacto knife works best for this but go slow as holding the fur between your fingers to keep it stiff enough to cut is dangerous and tricky but you lose very little fur this way .


cut the wire to the desired length (depending on the size head they are going to be pushed into but at least a few inches in) and use super glue gel to attach wire to skin side of fur . (pressing it down with a craft stick is better then using your finger...(lesson learned the hard way .) The super glue dries fast so don't leave the stick in one place to long just sort of pet the wire with it from top to bottom ) .

Once super glue is dry, paint the skin side of fur with the wood glue(or whatever glue you use) to seal it and wait a few hours until it is mostly dry and add another layer of the glue and match up all the edges of the leather inner ear with the inner fur ear and press down with craft stick(Popsicle stick) . I let this dry another few hours then add a layer of glue to the leather inner ear that is now covering your wires . If you want to add a bit more realism you can add a few strands of alpaca hairs or cut up tiny pieces of it like flocking .


When this last layer is "mostly" dry...barely any wet spots but not to stiff, you can shape it a bit to curve in at bottom and edges . I use a Styrofoam head to stick the wires into to keep the shape as it dries . Last steps not shown are just experimenting with ear placement and once found, adding a few drops of superglue gel to the bottom edge of the ear and pressing (hard) into place .

(Just make sure that your placement is exactly where you want it as it can't be moved once you press down and don't go crazy with the crazy glue as it's more important to make sure you press and hold it deep into the head then use a ton of glue . (You don't want the glue showing at all so sink that ear in firmly so glue goes down into the wool and not around the edge of the ear . )

OK, so I am not a huge fan of these ears . They look interesting but take a long time and most importantly, they don't have the softness of the felted ears . That said, I did promise to show how so there you are, perhaps something in there is usable for someone to play around with but here is the best tip I have to share ....

That is the eyelashes . I tried several different methods for making lashes with many time sucking failures   . The only method I found worked for me is using an exacto-knife to cut a very thin sliver off the edge of real fur . This might work with fake fur but the important thing is that you have a natural backing for the hairs to attach to the edge of the lid . Worked a charm and you can trim length of lash as desired . I left mine long because I'm a sucker for long lashes . Actually I think I should make myself a pair to wear as my lashes are almost nonexistent .

Besides making a few critters and lots of experimenting, I also got my craft room a little less cluttered so I can enjoy looking at my own critters ....


You can see the floor now and I can get into the dresser drawers to get my supplies...whoa hoa !
Still a lot of organizing to do but the sewing table is almost usable . I will be adding a TV with netflix to lure me to the sewing table ( I hate sewing) .

So, not all goals completed but making some headway and that's better then a poke in the eye with a sharp stick . Happy felting to you all !




LinkWithin

Related Posts with Thumbnails