Thursday, February 24, 2011

More experiments in felting fantasy for February

 Above is most of what I have done for this month . A few needle felted pin cushions. a freaky Valentines present for my BF= the hybrid baby doll ......(it's OK, my bf likes weird things ), needle felt animal , a large playscape/table topper, and several nuno felt cape/skirts using some new "cool synthetic" material . I don't usually use those two words in the same sentence but I like how this felts and will blog about it in the next few days .
 This is the present . To start, this began as a traditional needle felt animal but I didn't like the body so I decided to Frankenstein him....awwww, that's creepy . After cutting the felted head of the wool body, I yanked the baby dolls head off and wedged the felted head firmly into the neck hole....perfect fit . Not satisfied with this small amount of gore. I cut open the belly and replaced the invisible baby innards with a needle felt mushroom, tiny cave with bunny and larger bunny in Kung Fu pose . I have several ninja's that I bought for my felted playscapes so borrowed one for the tummy diorama . I then spent another 5 hours, using my permanent markers to make a full body suit tattoo . All in all, about 15 hours went into this present . I "think" he likes it but ....he might just be afraid to tell me that he doesn't....he did watch me decapitate a felted animal and a baby doll with a very sharp knife : 0

 Back to more traditional felting ..... I began this as a needle felt cuff but it was turning out to thick and bulky so I decided to stick a felted ball into the middle and felt it all into one piece to use as a pin cushion. It's large enough for my 4 needle felting tool and several individual needles for easy access . I added a lot of needle felt detail on this and decided to keep it for myself. After spending a total of 8 hours on it....I didn't think anyone would want to buy an $80 pin cushion .)
 The above one is much simpler and small enough to make into a wrist pin-cushion .I used bits of yarn, mohair for the grassy knoll <------not hiding the guy who shot Kennedy, and plain wool for the lady bug . I added some metal flowers, much girlier then my usual tastes but I do try and consider what other people may like once and a while .
 I think this would also make a nice decoration for one of my playscapes or work as a pin cushion .
 (This is just another side of the neelde felt cushion)
 Above is a very dimensional needle felt cuff , a bit out of focus but it's both firm and texturally  soft .
 The above and below are needle felt silk and merino over a needle felt wool core . I was playing around with using silk fiber, caps and fabric to add some shine and texture . I also really like the mohair curls but some people might find them a bit tickly ?

 One thing to keep in mind when needle felting silk fibers or fabric  into wool is that silk is amazingly strong stuff and can easily break your needle if you hit it at the wrong angle . It works best to lay the fiber on small bits at a time . You can't just throw it on the wool rope and start poking but felt in one tiny area until it feels secure then move to the next inch , sort of feeding the silk fibers under the needle like you would feed fabric under a sewing machine foot .

 Sometimes after hard felting something, I like to poke some of the fibers out the other side. creates a really velvet feeling surface .
 Well, this doesn't really go with the others but I will blog about my new playscape and bear tomorrow . One last necklace using the silk caps and fibers over a wool rope . Click on the picture if your interested in seeing more of the silk texture detail .

Friday, February 11, 2011

wet felted smock "take 2"

This isn't much of a tutorial because I am still working out a pattern idea .

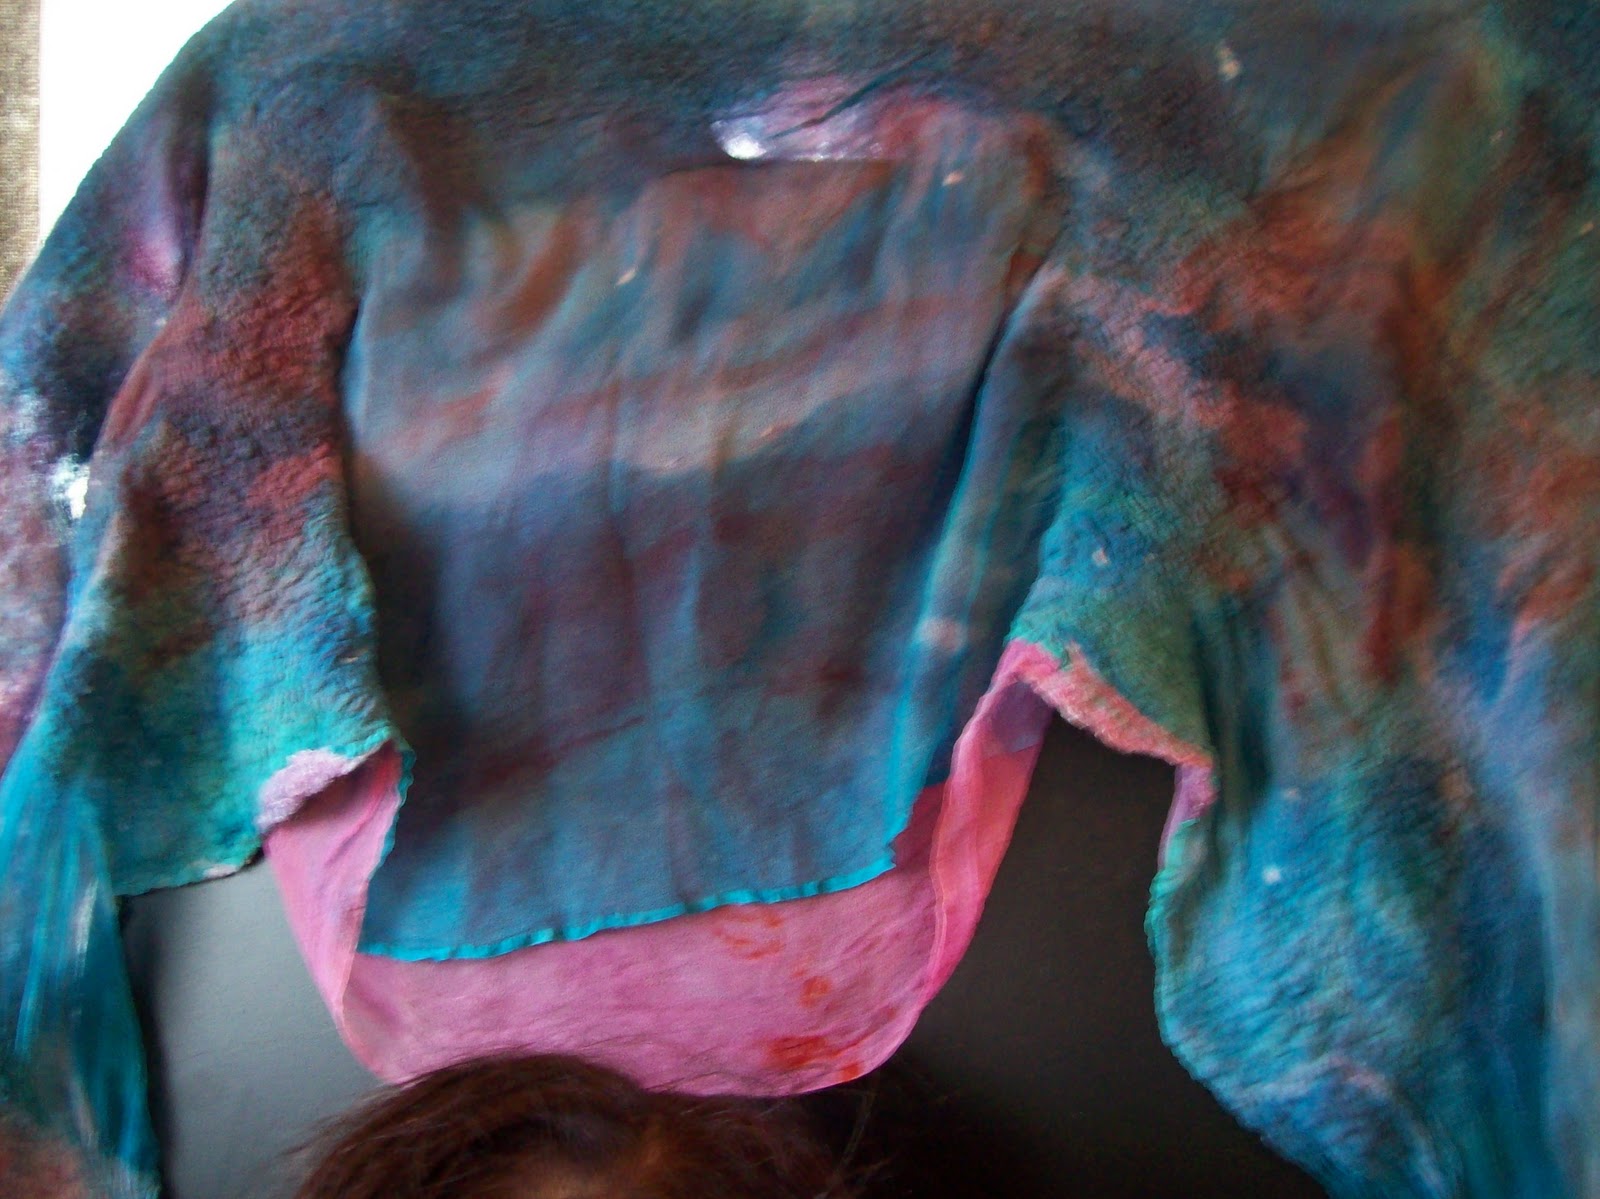
What I see in my head is a light weight collar and area to cover the ...uhm, chest area, with silk chiffon ruffled fabric hanging from the bottom of the nuno bodice to waist . What I need to work out is. how long does the felted part need to be so that your "naught bits" are covered . Since I intended this to be a spring top, I don't want the felt to be to thick....(which it is here, due to one to many layers of merino/tencel . ) Ideally, the chiffon, silk mesh or cotton mesh would start right beneath the collar area to form a nuno bodice ....so very little fiber would need to be added to make the fabric not transparent . Make sense ? However, I didn't have the chiffon yet, so I decided to make a solid fabric and do a bit of cutting and sewing experiments before I began the nuno felting with "take 3" once the fabric arrives  .

You can see the basic pattern here, but I am not a pattern maker, (uhmm, stating the obvious again), so this still needs some major tweaking before I can figure out the measurements of future layouts . Just thought I would share the whole learning process and hope that some day I will actually conclude with something wearable . If not....I can always cut the felt experiments up to make small bags and cuffs which is what this piece is bound for.... No waste in felting .
Posted by Picasa

Tuesday, February 8, 2011

nuno felting smocks with cotton and silk...or...Did a clown throw-up?

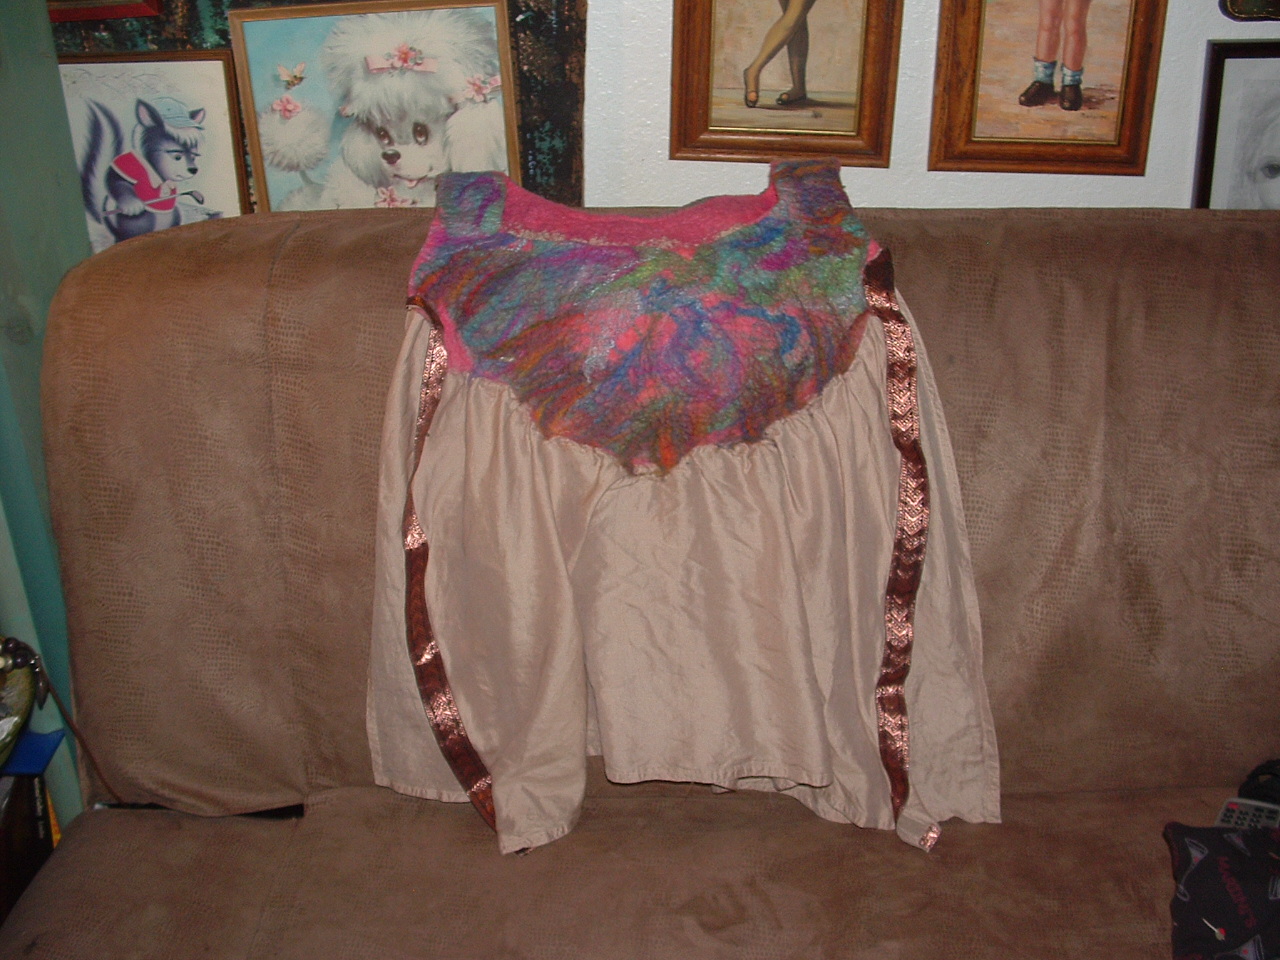
 Ok, I know this is probably a color over load for some people, but I haven't really learned the art of "minimalism" . No Zen here....just clowns ; ) and fiber and more experiments with felting . The above picture is a dense silk fabric with metallic edging and merino and lots of silk felted into it .

There's a story...(there's always a story.) For years I would haunt thrift stores and buy every piece of silk clothing I could find....I loved silk though I seldom wear anything but cotton . So, I had bags of silk clothing that I was planning on sewing into a .....something someday...except I hate to sew....ooops. So, when I learned about nuno felting, I was psyched...... a way to finally use my silk . Except that it is all so tightly woven that I couldn't get wool to migrate through it...(which is why I now only use chiffon or mesh silks .) I know other felters seem able to felt with denser silk but I never could get it to felt securely . After a year and a half of tripping over my silk bags, I have finally found a way to nuno felt with it.....spoiler alert....(.it takes a bit of time and silk abuse).

 Above is not an example of that...(I just can't seem to figure out how to rearrange my pictures and loaded them in the wrong order .) What it is is a piece of cotton "mesh" that I cut in half for the above table topper or scarf???? and below "smock" .
 The concept is one that's been ratteling in my brain pan for a while and I finally found the right fabric to try it . How ??? easy peasy . I started with a large platter and laid out a ring of merino and silk and tencel around it . I made it platter size rather then plate size, to allow for shrinking . What I forgot to consider was that the shrinking occurs away from the empty center and towards the fiber/ fabric making the hole larger, not smaller . Again, some basic physics principle that I would have known if I had bothered to take physics in High school instead of just staring at cute guys . 

 End result is a smock that will show a lot of cleavage (or should be worn over another shirt ?) . I still have to sew the sides together and figure out the whole "physics of arm holes"...wish me luck .
 This smock I used a plate to felt around....we live, we learn . It was once a very small silk dress/tunic that was slit up the sides and came with matching harem pants . I cut off the top part and needle felted the new cut top edge with a layer of merino . I did this with both sides of the tunic and then laid them near the edge of the plate and added more roving beneath and above the needle felted fabric edge and joined them with connecting roving around the plate .

If you learn like me...visually, then none of that probably made sense and you will have to wait until I can get pictures of the process which I will do if I remember to bring my camera tomorrow .
 Below two pictures are just close ups of the cotton mesh fabric . click on picture to see more detail . The cotton mesh worked great and I will definitely be looking for more of this to work with in the near future . I think once I work out the sizing, it will make great summer tops with just a bit of wool accenting on the bodice of silk or cotton mesh base . Eventually, I will try and do this with a resist instead of flat so that I don't have to sew the sides but can just felt them together . Stay tuned .

Monday, February 7, 2011

Needle felting with fake fur and real wool...and new shop SHUNKLIES

Above and below are a long planned but very "free form" experiment combining hand sewn fake fur and needle felting . This is not a new invention, there are several amazing crafters combining fake fur and needle felting but this was my first attempt and I didn't bother with things like....patterns but just started felting into a tube of fake fur that I had sewn and turned fur out .

My only experience making fake fur bears was in Highschool....where we cut shapes out of the fake fur and sewed them together....what a lot of work ,lol. I do plan on doing that, at some point but I just wanted to see what felting into fake fur felt like....(or felted like ). It works great, though there certianly is a learning curve and my critter here is a bit lopsided as I just sort of made up a design as I went .

Anywhoooo,expect more of these guys....(I bought several yards of fake fur a year ago and am determined to use it. ) I will share tutorials as I get things figured out .
Below is a bit of alpaca , merino and silk that was first wet felted, then needle felted . A lot of work for not very impressive results....live and learn . Upside....it's really soft !
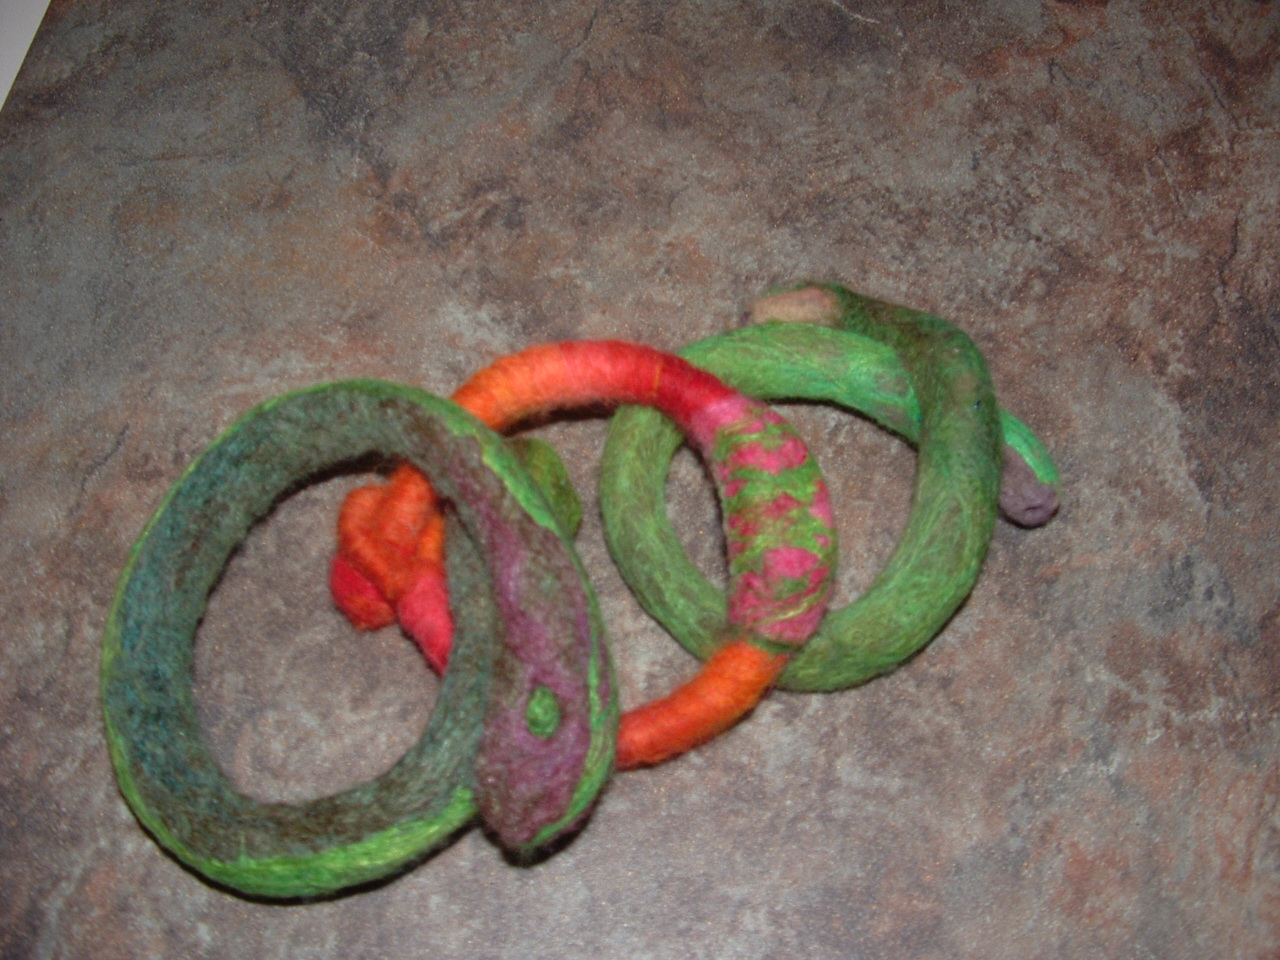
Continuing my bangle addiction...three new merino, alpaca and silk needle felt bangles, I still need to add some glass eyes to the snake bangles...I don't think the needle felt eyes have enough glint in them .

Even though I will never get these on Etsy in time for Valentines sales, I think hearts are always in style.....well, I like them any way and these are very 3D and should make nice pens .
Above and below....more free form needle felting "Dr Suisse Widgets" and beads for jewelry .
and below....a great shop on Etsy for knitters and fiber crafters....she has some beautiful stuff and even shipping from England, has reasonable pricing and fast shipping . Check her out.....

http://www.etsy.com/shop/shunklies

Tuesday, January 18, 2011

Needle felting, nuno felting, and wet felting my first vessel

 Above and below.....(waiting for my BF to entertain them with some guitar rock solos), are my latest needle felt friends . A mix of merino, mohair and alpaca are fast becoming my favorite ofr making animals . The mohair and alpaca add a nice "hair" look to very tightly felted sculptures . They aren't snuggable and fluffy but they are durable , hold the detailing well and are easy to clean so I guess there is always some trade offs in life .
 Below is another of my "I know it's just yarn but they feel and look so cool to me" jewelry obsession . I used a mix of handspun and "fun fur" novelty yarns . All are super soft blends of merino and silk with a dash of synthetic for sparkle . I make them similar to my braided roving bracelets substituting about 20 strands of the yarn for the roving and braiding and needle felting the same way . They are much softer then the roving bracelets, less structured and with even more stretch, so slip on conveniently . Perhaps no one else will dare the fashionestas and wear yarn instead of precious metals and stones, but I love the way these feel against my wrists .
 Below are two very similar cobweb/nuno felt scarves . They are both a base of orange merino tencel with different blends of turquoise, green and a bit of red silk bells . As most felters know, it's almost impossible to capture the detail of the texture and shine of the fibers ....at least using a cheap camera and poor lighting...but if you click on the pictures it will show a bit more of the detail .


 Below is one of the 2 table toppers I worked on last week . They are both a mix of just about everything . I like the different effects you can get mixing wool. alpaca, mohair and silk .
 This is as large a piece as I can make with the limit of my table space . I added several layers os it's far more durable and thicker then the cobwet scarves and I would feel safe throwing it in a warm water wash and 20 min in dryer then air drying for cleaning . The nice thing about felted wool is the one thing you usually worry about....shrinking and felting....have already happened .
 This shows close up of the silk bells over the wool....I love working with silk .
 Not sure why, but the below table topper reminds me of something from the 50's . I had designed this as the "top" with the bits of different colored mohair on top of the greenish-yellow wool base and brown edging.....sounded kind of springy but I'm not thrilled with the result...not my colors for sure .

 I much prefer the "bottom" of peachy-orange colors .That is one advantage to making two different sides....increases the chance that you will like at least one of them . I made this table topper "peanut shaped " and am considering sewing it into a purse....will see .
 Below is my first attempt at a vessel . It certainly is more "free form" then some professional felted vessels I've seen and though it stands OK, it's not as hard felted as I wanted . On the up-side, the softness did allow me to add a needle felt "pod" and I may add a few more and then rewet felt the whole thing . All in all, a good learning experience and I will try and take pictures of the process if I attempt another .
 ....and that is about it as Max says it's time to pay him a bit more attention and stop this incessant felting .

Saturday, January 1, 2011

Happy New Year of fiber fun

 Christmas is over for most folks but being the defective perfectionist that I am....I still have packages to mail . Why ? Well, my family would say it is because I am forgetful, inconsiderate or irresponsible but they would only be half right . The reality is that I have been thinking of them and Christmas for the past 12 months and made several items with them in mind . The problem for me is that I have these nagging self doubts that inhibit me from just popping the items into the post and knowing they will like them . Instead, I critically look at each completed item and find fault...colors or textures they wont like or will clash with their decorating . Will these items I have struggled to make end up in a thrift store donation ? These thoughts are complicated by the reality that I don't know my family better . The reason for this is to complicated to go into but makes the Holidays a rather unpleasant time for me . Each item I make carries the unrealistic weight of being my only way of saying...."I think of you and care about you ". .....unfortunately, my lateness in posting gifts actually gives them the opposite impression .

This year, I actually made a movie and sent emails asking my family to please pick something they would like for me to send so I could at leat feel that the item had a willing receiver . The only family member who responded was my mother who said that I didn't need to send anything but a card . In my heart I would like to believe that she is just being her usual selfless self and not wanting to take items away that I might eventually sell and make money from . But some part of me just wishes that she could say...."Hey, I love that animal/scarf,etc and would love to have something around to remind me of you and how proud I am of your talent ".

So, to the family of other aspies....I am opening my heart to you to let you know that aspies do have feelings that we are often not able to express or express in ways that seem contrary to your logic .

This is the latest addition to my animals and though not intentional, reminds me of a lion cub . Behind him is a scarf I designed for my mother in law.....I have made her several that I deemed "not good enough" and now wonder if even this one has to dark of colors ....dang .


 Although, I have no torso to pose , it is actually meant as a shoulder shawl .
 It's hard to show here but I felted two separate layers of chiffon here so it has different colors on each side that I hope compliment each other well .
 The turquoise is newly dyed last week using a rust mix to give an earth and water look and she lives in Florida so I wanted to make it as light weight as possible using just the chiffon and tencel merino blend .
 I absolutely love the texture of the merino and tencel together . I also added just small bits of silk fiber on top to add even more shine to the blend .
 Below is how I spent most of last week . I dyes both silk bell/caps(greens) , mohair and wool and tencel and merino and straight merino . This is just a bit of the dying I did...several more pounds in the car yet to be unpacked including some lovely purple merino/tencel .
 Below is a close up of the silk bells but I can't really capture the almost florescent effect but wanted to share how I did it . I actually soaked the bell in sunflower yellow dye before I added the blue and bit of magenta spots . I think this would work as well using any lighter base dye with spot dying complimentary darker colors .
 Below is a bible  bag I made for my sister in law who was recently ordained . This is my first bag using a resist and built in handle . her favorite colors are red and green so I used a base of dark red Shetland for durability and some hand made merino prefelt hearts that laid on top ,(and  look more like leaves then hearts but still interesting contrast) . I think this bag turned out much thicker then I had imagined but certainly will be durable . Now, if I can just except it's imperfections and get it in the mail before next Christmas is here .

 Below is the decadence that will ring in the New Year . We don't normally eat this unhealthy but it these will be accompanied by a nice big salad to help counterbalance .
Wishing you all a Happy New Year full of experiments, treats and love .

LinkWithin

Related Posts with Thumbnails